.png?width=202&height=60&name=Fishbowl%20by%20GoTab%20Logo%20(1).png)
The Rows panel includes different types of structural elements for your mailing or landing page. Rows with different structures allow you to organize content in a way that is different from the preceding and following rows.
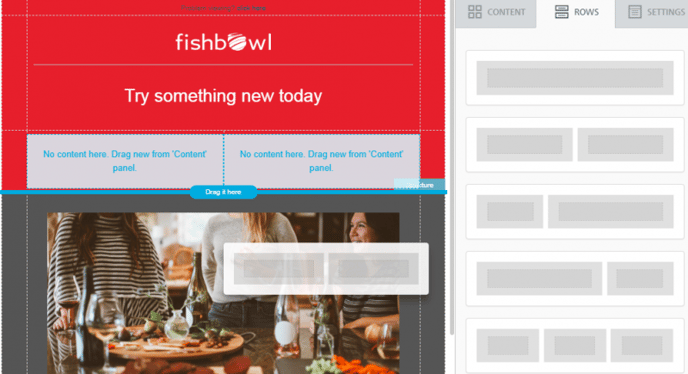
For instance, you may need…
- a single-column row with a hero image to introduce a new promotion
- a two-column row below it to display some of the store’s best-selling menus items
- a two-column row with images and text for each image
There are three different types of rows that you can add from the rows tab:
- Default Rows - these rows contain common combinations of content (images, placeholder text, dividers) inside of rows to make content creation easier
- Empty Rows - these rows only contain the row and column structure that you can use to add content blocks to as needed
- Saved Rows - the rows here have been created and saved for use just in your brand.
To make content creation even easier and faster, you can copy entire rows (for example, a picture, a button, and a text block) with all of their settings and blocks. This allows what designers call modular design: you create a module and then replicate it multiple times as needed.
Columns within rows
Settings at the column level within a row allow control on the background color, padding, and borders for the selected column.
Selecting rows and content
When you mouse over the mailing in the editing stage, the following happens...
- You mouse over a block of content (a button in the example below): the editor shows you an icon on the right side that allows you to drag that block of content elsewhere.
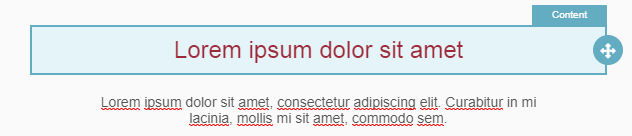
- You click on a block of content, and the editor will:
- Show you two icons on the editing canvas, which allow you to remove or copy that block of content.
- Change the properties section on the right side of the editor to display a series of properties that you can set for that block of content.
- You mouse over an area that is free of content, i.e. the row in which the content is located. The editor will highlight it and show you an icon that allows you to drag that entire row elsewhere on the stage.
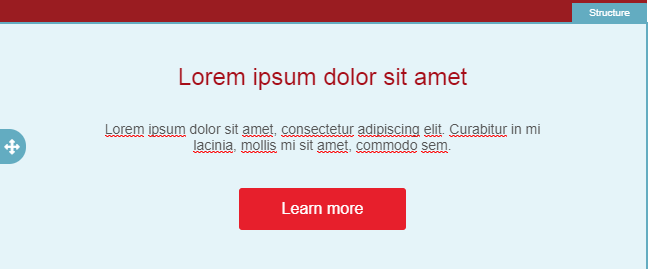
- You click on a row, and the editor will:
- Deselect any block of content that had been previously selected.
- Select the row, and show you two icons that allow you to remove or clone the entire row and all its content.
- Change the properties section on the right side of the editor to display a series of properties that apply to that column within the row. A row can contain more than one column.